How to test The Soil of Your Farm, Lawn And Garden?
Testing farm, lawn, and garden’s soil is the first things to start your farming. By testing soil you know the nature of the soil and you find out which crop is suitable for your farming. At the same time soil test tells you what is the lacking element and nutrients of this soil. It helps greatly to make perfect soil mixture for your farming crops.
Soil testing involves collecting representative samples from multiple spots. After collecting sample you may sent it to a professional soil testing lab. Or make a complete test on your home or farm by using soil testing kit.
How to collect sample for soil testing
To make effective soil test you need to collect the sample collection wisely. To collect representative sample, scrape away any surface litter, plant residues, leaves, etc. At the same time you need to avoid sampling in a spot where ashes have been dumped, manure or compost stored, or brush burned.
To make sample collecting effective you may follow the steps which is describe below…
- Divide Areas: Separate tests should be conducted for lawns, vegetable gardens, and flower beds.
- Marking spot: Then you marking the specific spot from which you collect the sample by digging
- Collect Samples: By using a shovel or probe to take samples 6-8 inches deep for gardens and 4 inches deep for lawns
- Samples Dimension: By making a V-shaped hole cut a 1-inch wide slice of soil the length of the hole from one side. Take a 1-inch strip from the center of this slice for sample.
- Zigzag Pattern: For effective result you can take 10-15 small samples in a zigzag pattern across the area.
- Mix and Dry: If you doing the test at home the soil air dry completely before testing and mix the sample perfectly
Soil Sample collecting tool
Cleaning tool: First you need to clean the selected area from which you want to collect sample.
Here Top 5 Products for You
 |
|  |
|---|---|---|
 |
| |
 |
| |
 |
| |
 |
| |
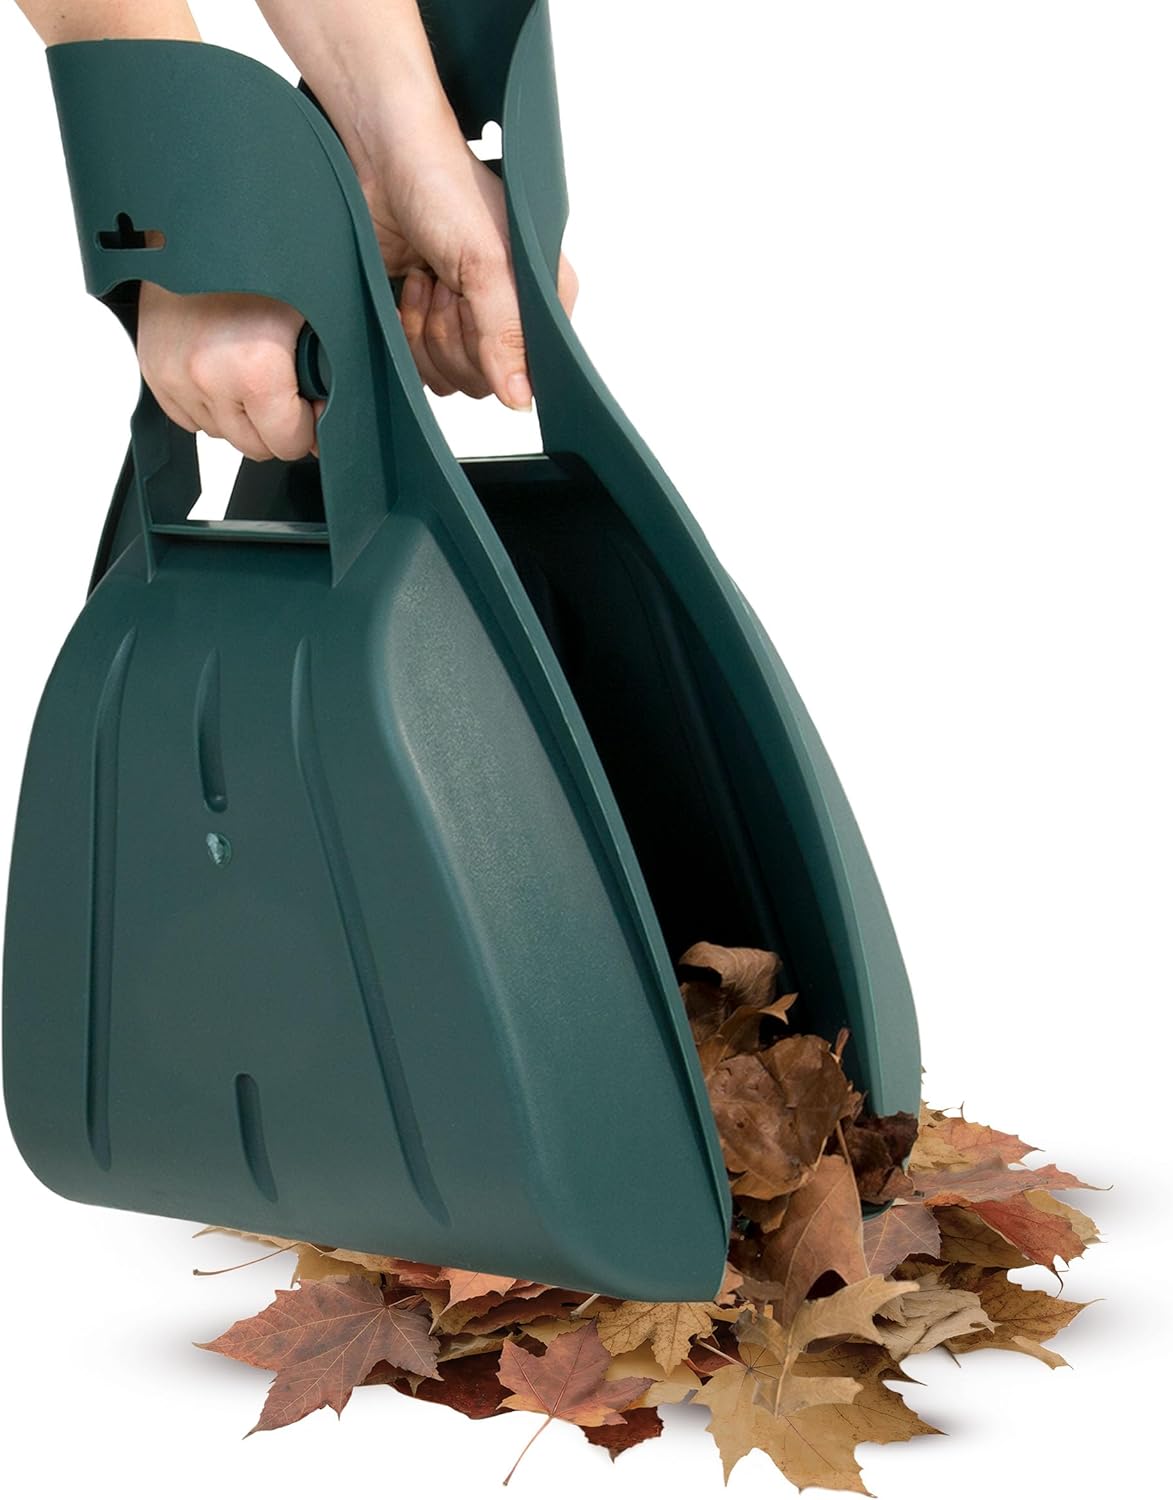
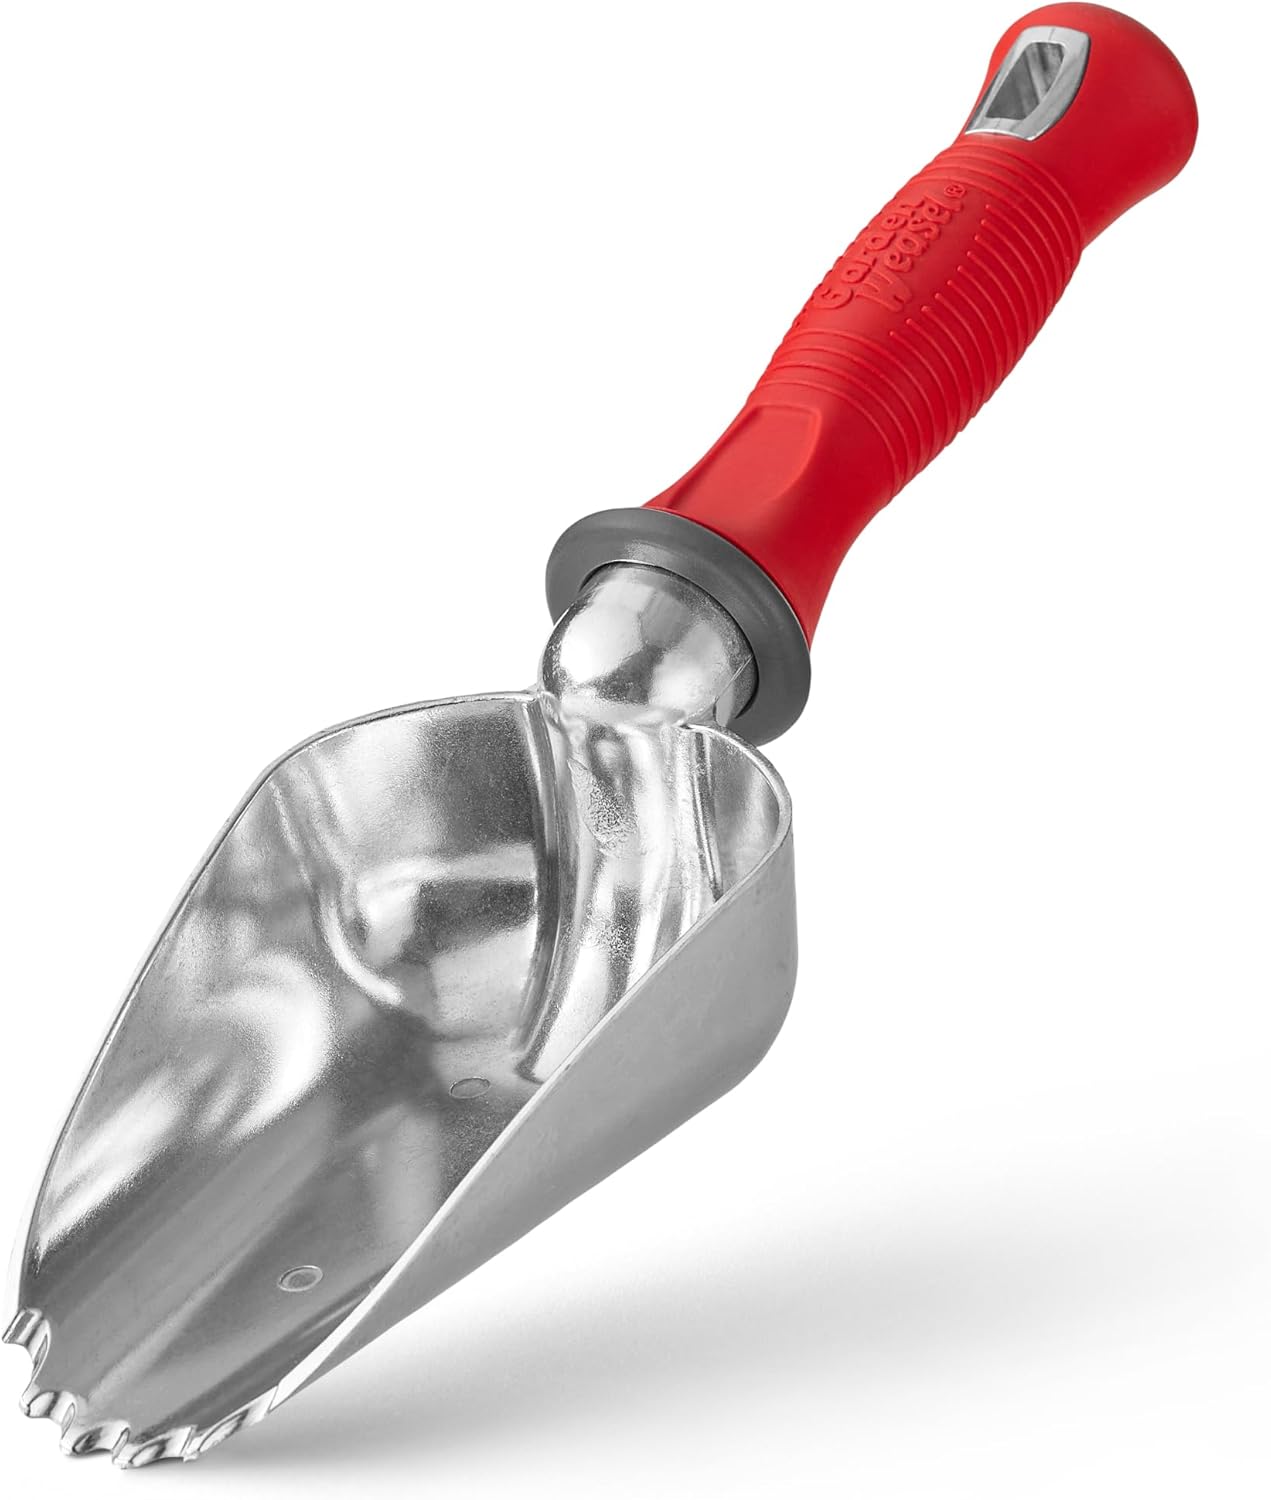
Digging or soil cutting tool: After cleaning the selected area you need to some soil cutting tool. After taking the soil from the ground you need to put it a basket. Then dry it enough in sunlight and mixing well. Here some tool you may need.
Here Top 5 Soil Digging/Cutting Tools for You
 |
| |
|---|---|---|
 |
| |
 |
| |
 |
| |
 |
| |
After dry and mixing this soil properly you may follow two steps….
1. Professional Laboratory Testing
You may sent your soil to the nearest soil testing lab. It can be the perfect choice if you are not interested to do this test in home. Lab soil test provides the most accurate nutrient levels and precise amendment recommendations. For this you can contact local govt. agricultural extension offices or private agricultural labs to request a soil test
2. Test your soil at Home.
If you have enough knowledge about soil and there is no lab test opportunity in nearby. You can test your soil at home by using soil testing kit. For making the soil test perfect and exact result you must need to follow the steps which is described in below…
Soil pH Test: According to pH scale there are three types of soil. These are alkaline, acidic, and neutral soil. For testing soil pH level you may follow both ancient and modern way.
By using vinegar and baking soda for testing the pH level of soil. As per ancient method you need to mix 2 tbsp of soil with 1/2 cup vinegar; if the soil fizzes, it is alkaline. At the same time you need to mix 2 tbsp of soil with water and 1/2 cup baking soda; if it fizzes, then the soil is acidic. But if the soil is not fizzing after mixing both liquid indicates neutral soil. And neutral soil is preferable for good farming.
But in this modern time you can test the pH level by modern soil testing kit. The best pH range for most agricultural crops is slightly acidic to neutral, which is typically indicate 6.0 to 7.0 parameter in pH scale. If you soil in this range it ensures maximum nutrient availability, preventing deficiencies or toxicities. There are so many crops thrive in the 6.0–7.0 range, a slightly wider range of 5.5 to 7.5 is acceptable for various crops, but 6.0 to 6.5 is often considered optimal for professional farming. By using this tool you can measure the pH level easily for your farming which is given below
 |  |  |
|---|---|---|
| | |
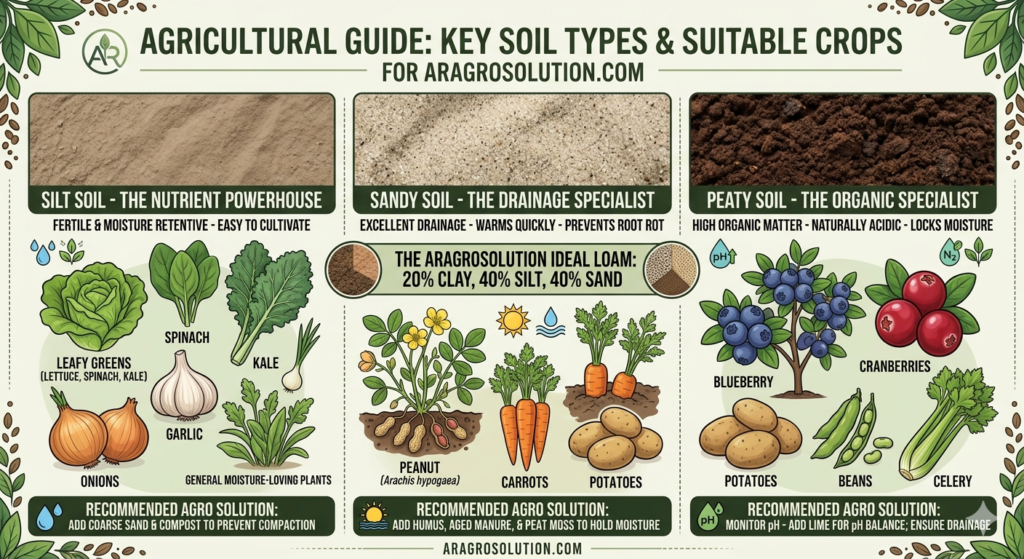
Soil Texture Test (Jar Test): To find out your soil nature like it is sandy, slit or clay. Just fill a glass jar 1/3 with soil that you dried before, add water and mix well with a dish soap, shake, and let it settle. Sand settles in minutes, silt in 2 hours, and clay in 24 hours. And further help you can watch this YouTube video.
Our team believe that data-driven farming starts with the earth itself. You don’t always need a laboratory to understand your land. By using our AR Jar Test, you can determine your soil’s physical composition in 24 hours, allowing you to make smarter decisions for your next planting season.
The Goal: The 20-40-40 Rule For most commercial crops, including our premium tomato varieties, the “Gold Standard” is Loamy Soil. This ideal balance consists of: 20% Clay 40% Silt 40% Sand. The Agitation Phase: Secure the lid tightly and shake the jar vigorously for 3 minutes. This breaks down the soil aggregates.
The 1-Minute Mark (Sand): Set the jar down. After exactly 60 seconds, measure the thickness of the bottom layer of sediment. This is your Sand content.
The 5-Minute Mark (Silt): Wait an additional 4 minutes. Measure the new layer that has settled on top of the sand. The difference between the first and second measurements is your Silt content.
The 24-Hour Mark (Clay): Leave the jar undisturbed for a full day. Measure the final fine layer. The difference between the second and third measurements is your Clay content.
Biological Activity (Worm Count): If you soil full with insect or earthworms that indicates your soil is healthy and good for your plant. For this test you need to dig a 1-foot cube of soil and count earthworms. More worms generally mean higher organic matter and better soil health.
Aeration: Their tunneling naturally “ploughs” the soil, allowing oxygen and water to reach the roots of your plants.
Nutrient Cycling: Worms consume organic matter and leave behind “castings,” which are concentrated, natural fertilizers.
Microbial Growth: Their presence stimulates beneficial bacterial activity, creating a more resilient growing environment.
Why Soil Testing Is Important for Your Garden
For good farming and grow well of your plant your soil needs to be able to provide nutrients to plants. If your soil fail to provide this your plants won’t grow well. Choosing the right soil with perfect pH level means your plants can take up the necessary nutrients in the soil. If your pH level is too high, that means your soil is basic or alkaline many nutrients such as phosphorus and iron may become less available; if your soil pH is too low, it is acidic and it can be toxic to plants. Without healthy soil, it is challenging to have a successful farming or gardening.
Another reason you need to test the soil is that you want to know what is the lacking of your soil. According to the lacking you need to mix fertilizer with your soil. You do not need to rely on fertilizing the soil too much if you start with healthy soil. Before you start dumping lime and fertilizers, your first step should be to take a soil sample to test your soil perfectly at home or send off for testing.
What Does a Soil Test Measure?
A effective soil test will evaluate the basic texture of your soil—sand, silt, or clay—and determine its acidity with the pH level. The available nutrients, including calcium, magnesium, phosphorus, and potassium, will be calculated, and recommendations will be made for raising each to the correct levels for optimum plant growth. Armed with this knowledge, you can make the proper improvements. Too much of a good thing can be just as harmful as too little, so let your soil test be your guide.
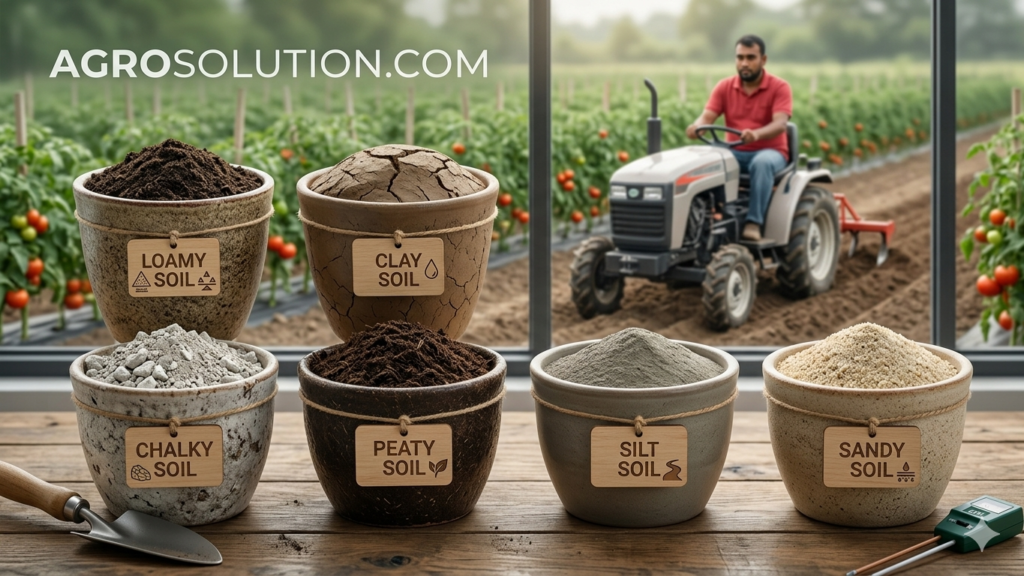
At ARAGROSOLUTION, we know that a thriving garden or a high-yield plantation doesn’t happen by accident. Every successful harvest is built from the ground up, starting with the very foundation of your farm: the soil.
Before you invest in expensive fertilizers, sow your seeds, or begin redesigning your planting beds, there is one critical step you cannot skip—testing your soil.
Why Test First?
Think of a soil test as a “health check-up” for your land. Instead of guessing what your plants need, a simple test provides the data required to:
Grow Stronger Plants: Ensure your crops have the exact nutrient balance they need to thrive.
Maximize Harvests: Boost your yield by optimizing the growing environment from day one.
Reduce Effort: Save yourself from the “headaches” of troubleshooting stunted growth or yellowing leaves later in the season.
The “AR” Advantage
In today’s agricultural landscape, precision is everything. By taking the time to analyze your soil now, you are practicing Agricultural Resilience. You aren’t just planting; you are engineering a sustainable ecosystem that will support your goals all season long.
“Don’t guess—test. At ARAGROSOLUTION, we believe that understanding your soil today is the only way to guarantee a greener tomorrow.”
Ready to Begin?
Check out our professional DIY guides to get started:
The AR Jar Test: Determine your soil’s physical texture (Sand, Silt, or Clay).
The Earthworm Audit: Measure the biological health and microbial activity of your land.